
MRT Beadlock Wheels
(Now known as MRW)
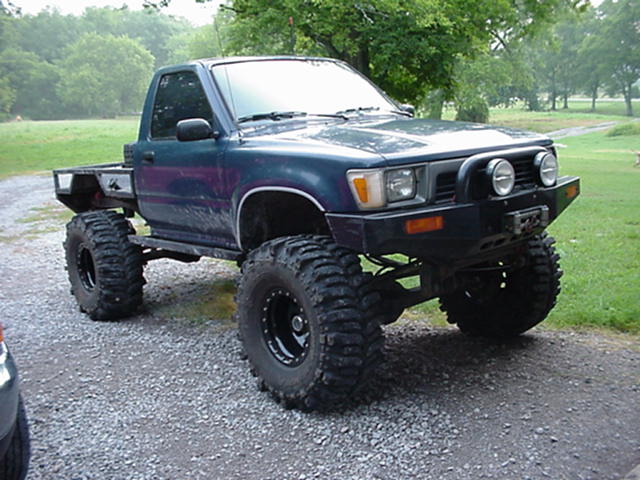
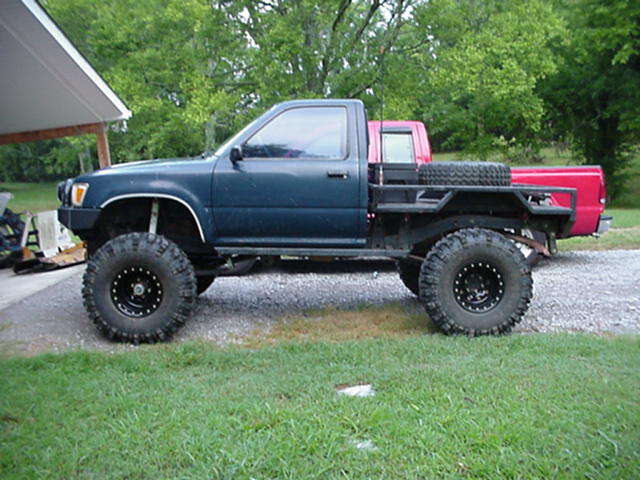
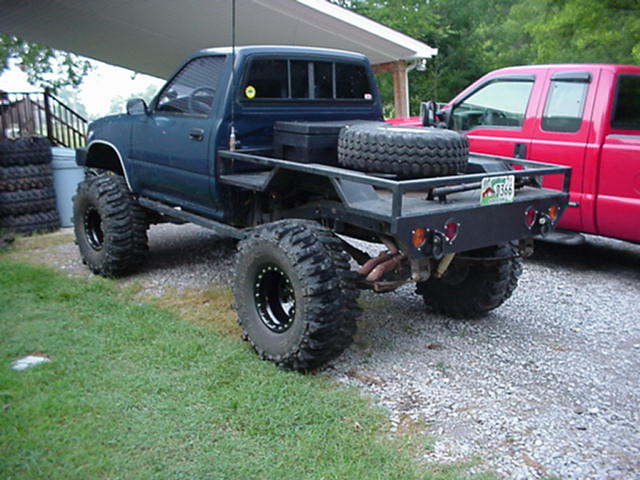
For over a year after my solid axle swap I ran a set of 15x10" aluminum wheels with some 35x16 Super Swamper Boggers wrapped around them. These wheels were not really my ideal choice, but at the time I needed some 10" wheels and the aluminum wheels were the first thing someone offered to trade for my previous 8" chrome wagons.
Although I had not really had too many problems out of these wheels, trail abuse was starting to show, and I had started chipping larger and larger chunks out of the sides of them.
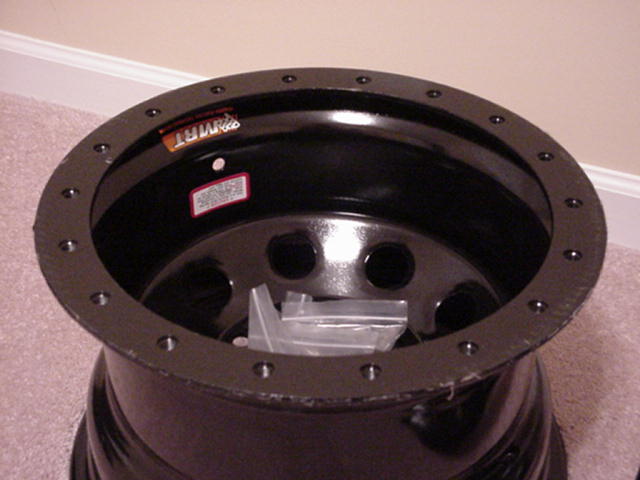
Always looking for another set of wheels but too cheap to spend much money, I managed to get a good price on a set of MRT beadlock wheels from Essentially Off Road that I just could not pass up. I placed my order, and waited for them to arrive.
Once they did arrive, it seemed like I would never find time to install them. It was actually 2 months before I found the time and means finally get them under my truck.
After having a friend with an old air operated tire machine help me break the boggers off the aluminum wheels, I said good-bye to aluminum and was ready to get locked.
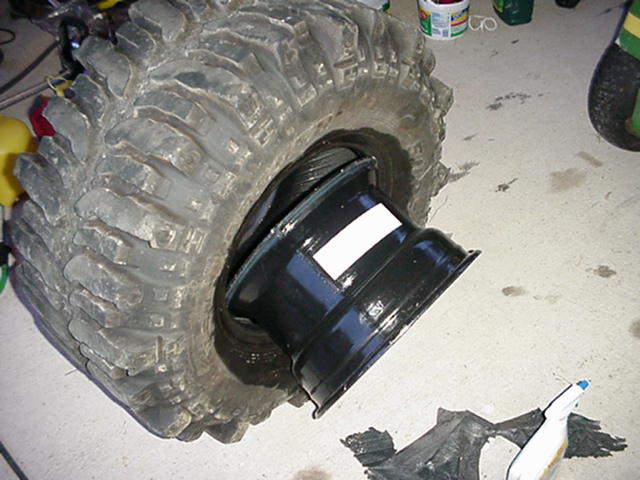
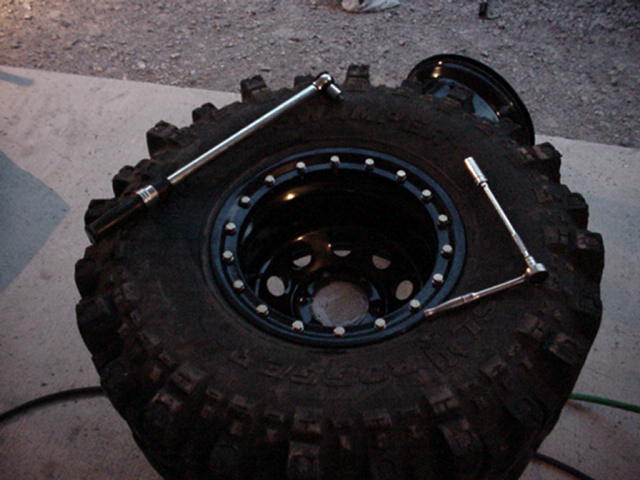
I started by installing valve stems in the wheels. This may sound trivial - but I almost forgot to pick up a set until the last minute. I prepared a spray bottle of soapy water and used it to spray the seating surfaces of the tire. From the rear of the tire, I pushed the front of the beadlock wheel through. This lets the flat mounting surface of the wheel rest on the inside of the outer tire bead. Let me stress this again - liberal use of soapy water makes this job a lot easier when it comes to getting a good bead seat.
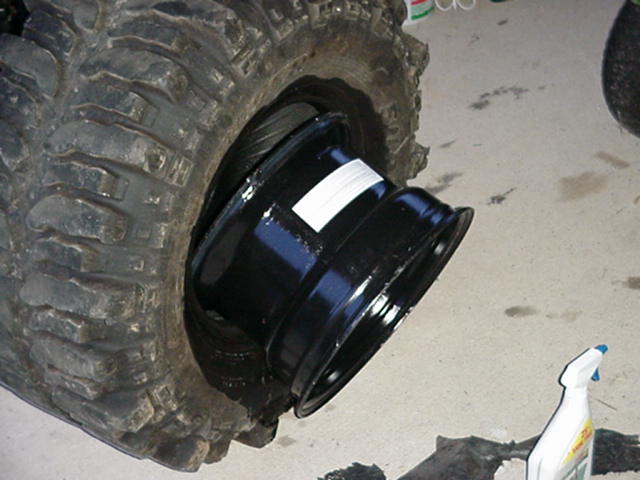
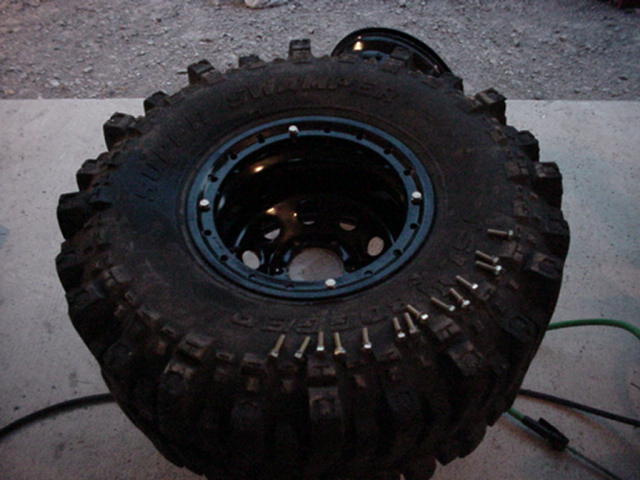
At this point I found it best to have some sort of stand for the wheel to rest on and allow the tire to hang off this outer bead - I used a bucket. You then center the tire around the bolt holes, set and center the outer lock ring in place, and start installing the bolts and washers to get the started. Using a cross pattern similar to when tightening lug nuts, you proceed to take FOREVER to evenly torque the bolts down to firmly clamp the ring in place. Once I started getting close to the final setting - I found it easier to change over from a cross pattern to going from bolt to bolt around the ring tightening them as I go. Once the bolts are at the recommended torque, you hope there are no leaks!

After I had the tires mounted, it was time to test for leaks. Using the soapy water again, I sprayed enough to form a puddle behind the ring that is welded to the wheel. I then rolled the wheel slowly watching the puddle to check for any leaks at the weld. MRT silicones this weld from the inside before the wheels are shipped out to guard against pin-hole leaks in their welds, but occasionally air still gets by even their silicone. I also sprayed between the ring face and sandwiched tire bead to check for leaks there, as well as the rear bead on the back of the wheel. it is a good idea to also check the valve stems for leaks where the come through the wheel, as well as at the valve core where it could be loose or faulty.
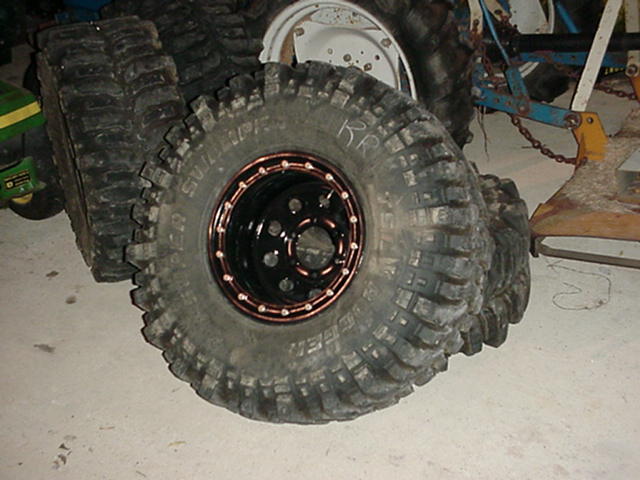
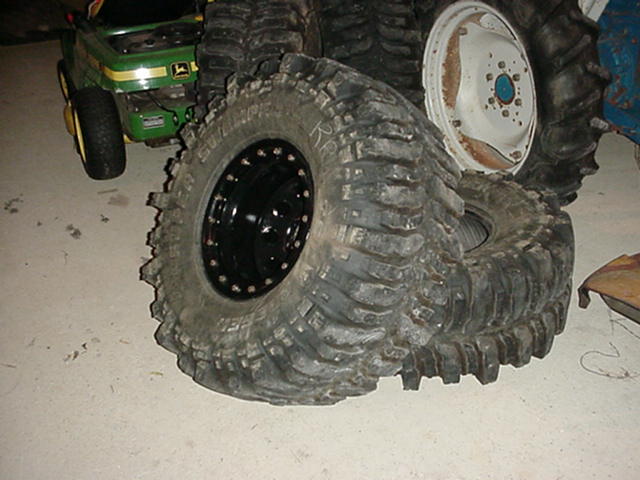
Once I was finished checking for obvious leaks, I aired the tires up to 28 psi (boggers are rated for max 30 psi) and left them sitting for a day. Checking the tires approximately 12 hours later showed that they had not lost any air at all. Once the tires are on my truck, I will be able to see how much they leak down over a few days or weeks.
| This page last modified 07/10/03 |
Questions? Concerns? email DRM |